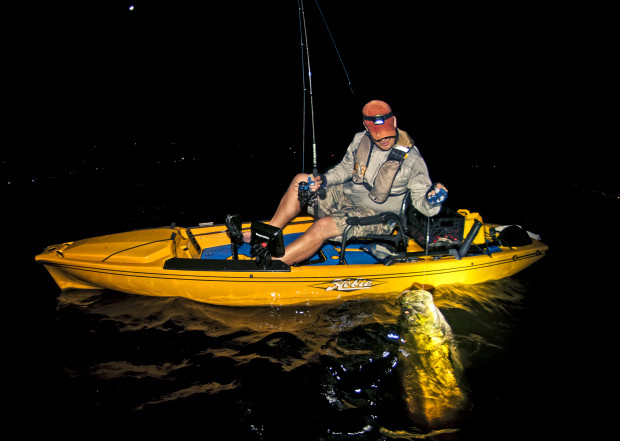
If I was asked 6 months ago about my thoughts on the use of advanced sonar/plotters on my Hobie Kayak, I would have said, “I prefer to keep it basic and clutter free.” With a majority of my fishing time spent inshore and in less than 30 feet of water, I figured that between experience and some basic shoreline triangulation, I could efficiently find and return to fish producing structure in deep inshore waters.
While this is true, I was able to find and return to many of my favorite inshore rock piles without expensive electronics, it didn’t make locating fish producing structure in new areas any easier or more time efficient.
A majority of my previously held knowledge of spots were learned while fishing the same areas, in a boat and utilizing the electronics on the vessel. It’s quite hard finding the proverbial needle-in-a-haystack without a little assistance from modern technology.
On to the review…
I feel I’ve spent enough time using the unit (just over 6 months as of 3/31/15) to give an honest opinion regarding the pros & cons, display and durability I’ve witnessed during this time.
Pro’s:
Ease of use: For anglers new to marine electronics, it can quickly become overwhelming trying to learn and master the operation of a new device. For those who are not naturally tech savvy, the operation manual can seem like a foreign language.
STEP IN DRAGONFLY: This may be the easiest and most straight foreword operating plotter/fish finder that I’ve used in the past 12 years. The Dragonfly offers 3 large buttons for operation. Visit Raymarine Online for more info.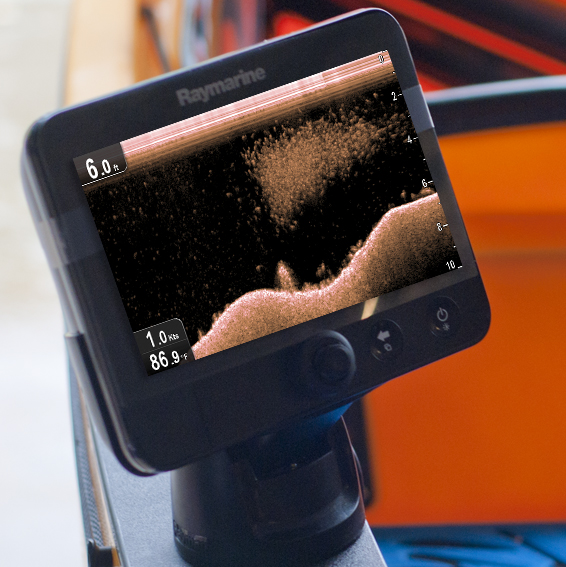
1. A “select” button that also serves as a directional knob. Just press the button to select and option, turn the dial left or right to scroll through displayed options and adjust depth or chart range. The knob has remained crisp and tight to the touch, while maintaining very good responsiveness.
2. A “back” button, that does just that. It goes back to your previous screen. Don’t like what your looking at, hit the back button. When pressed on your native plotter/sonar display, a prompt will appear with easy to read and understand icons to select different display options. Chart Only, Sonar Only, CHRIP DownVision Only and then a list of combination displays featuring two or more of those 3 options. Pretty easy!
3. A “power” button, that turns the machine on and off and allows you to access some options to adjust gain, brightness and auto depth range on the sonar. That’s it. All the functions any inshore or near shore angler need are right there easily accessible in an HD display.
Con’s:
I mentioned con’s in my list, because no unit is totally perfect. Overall, I’ve been nothing but satisfied with the unit and it’s operation. My only real concern is the removal of the micro SD card to retrieve screen shots. It’s awfully small and should be done over a white cloth or towel in a dry area. The card is very small and doesn’t float! I usually pull the card for screen shot retrieval in the comfort of my home office, well away from saltwater and air.
Display:
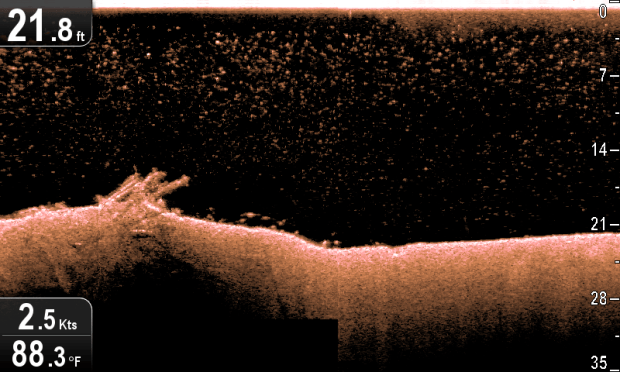
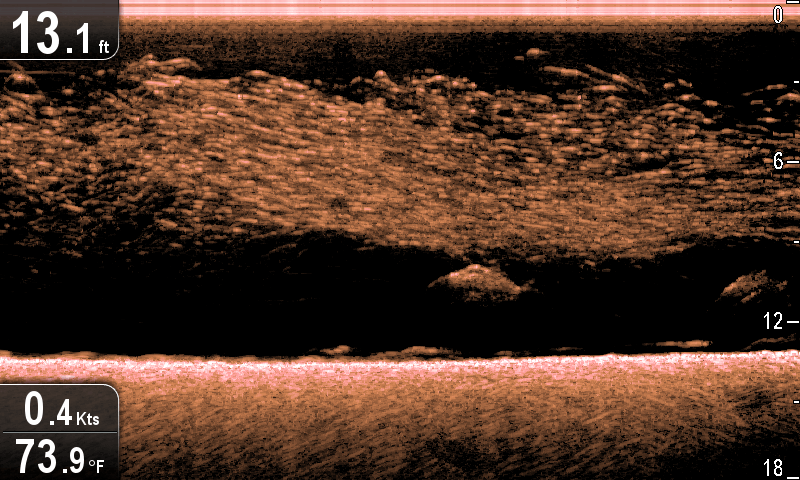
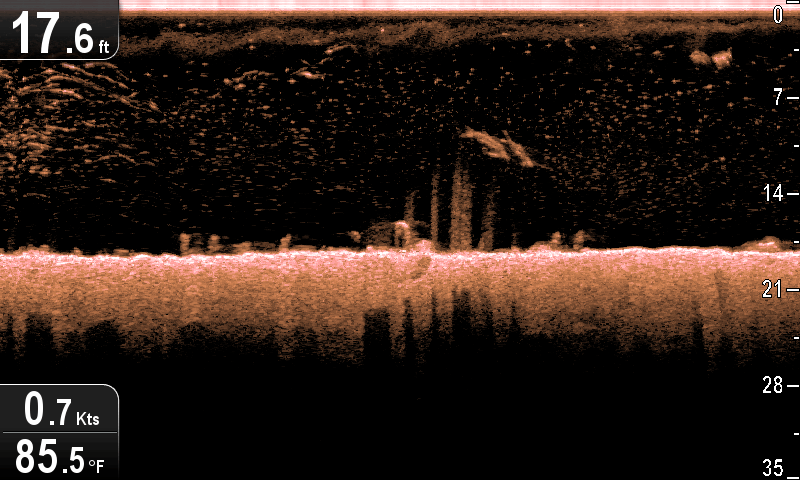
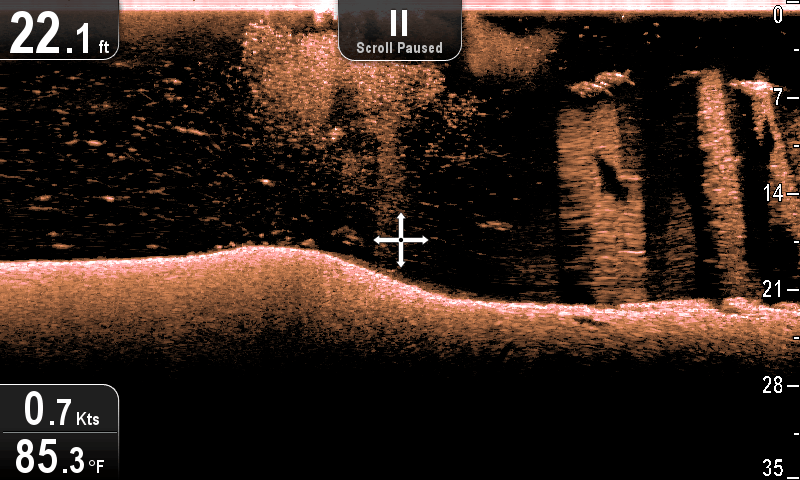
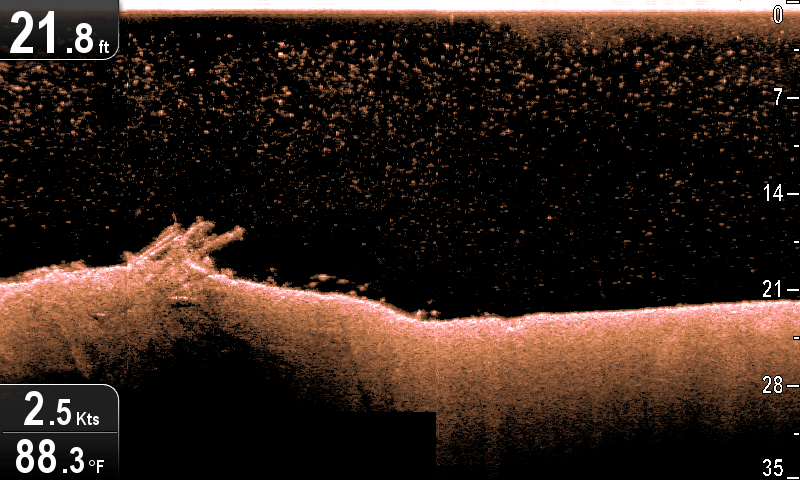
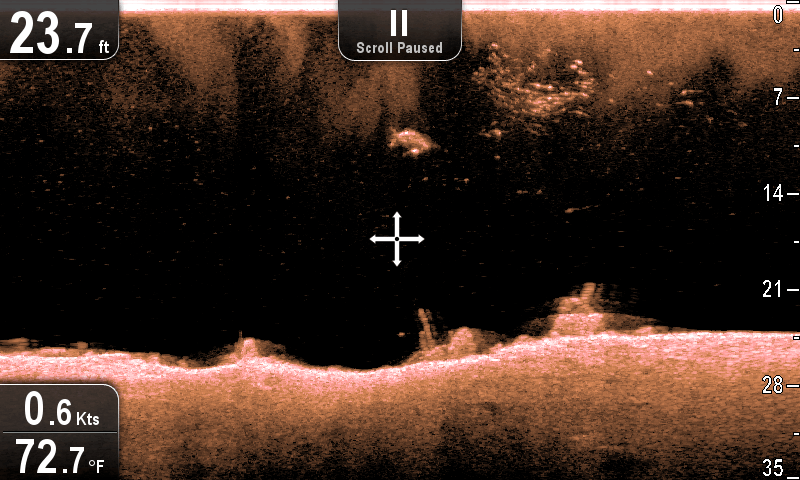
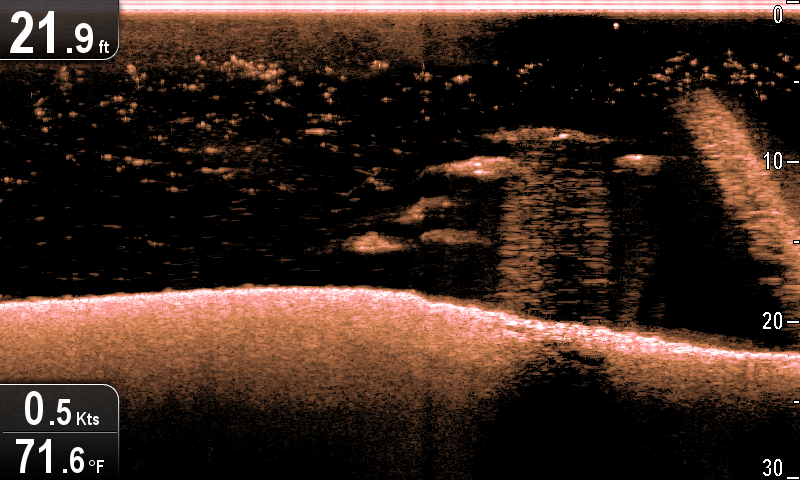
Note: I’m generally going less than 5mph while on my kayak and have not used the unit at high speed. I’d by lying if I didn’t say I got excited when I start marking schools of bait or large game fish like tarpon while using the CHRIP DownVision feature. It’s amazingly crisp and generally easy to know exactly what your looking at when viewing fish, bait and structure. Before using electronics on my kayak, I was always creating a mental image of what was lurking beneath my plastic hull. I’d imagine where and how bait would orientate along structure and how the predators would relate to them.
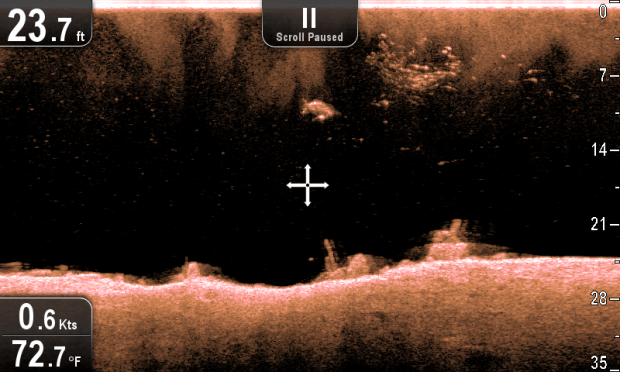
While I still like to imagine the fish striking the lure at the end of my line, I now have a very accurate and HD image of exactly what is and isn’t under me. Having a real time image to help develop a fishing pattern helps me quickly dial in productive areas where bait and fish are holding, thus, saving me precious time during my trip.
Durability:
After these 6 months of use 3-4 days per week. Removing and reinstalling the until from it’s bracket each trip I can honestly say I haven’t had any quality issues with the display itself or the mounting bracket. Everything continues to be held sturdily in place and operate like it came right out of the box.
I had to do some minor modification to my transducer bracket on the Hobie Pro Angler 14 to accommodate the Raymarine Transducer. These modifications have not created any interference with the performance of my kayak or the display.
Installation:
Was quick and easy. Check out this How-To Video for more insight into installing a Dragonfly 7 onto a Hobie Pro Angler 14.
More Raymarine Dragonfly 7 Screen Shots



Would the transducer installation be the same when the head is the 5″ model? Also. this would be on a PA-12 kayak. Are you using the thickness of the Transducer along with the plate to hold the transducer in place? Do you use some sort of glue to keep it from twisting ? One other question, what is the difference between C-map and Navionics+ Charts? I can’t fish deeper than 180 feet because of the law for our
California rock fish season in the Pacific ocean. In a rare case 230 deep if I fished in Southern California. I also fish our local lakes for Trout, Kokanee and land lock Salmon. Thanks
Good questions!
1)I’d recommend checking with Raymarine to make sure the transducers are the same size. I would assume that they are across the series.
2) Yes, there is enough tension between the transducer and mounting plate to keep the transducer in place. I haven’t experienced any distortion or feedback with this setup. I did NOT use any adhesive or glue in the installation.
3) The Navionics chip is included with the Dragonfly 7. Information per Navionics website: Features include a clear, easy-to-use, paper-like display of all detail available from the best nautical charts, plus:
• Tides & currents
• Port plans
• User-selectable safety depth contour
• Marine services
• Navigation aids with XPlain
• Marsh areas